The Ultimate Android eSIM Guide: Setup, Usage, and Troubleshooting

In today’s interconnected world, staying online is more essential than ever, especially for travelers and digital nomads. With eSIM technology, you can enjoy the flexibility and convenience of connecting to mobile networks without the need for a physical SIM card. If you’re an Android user, this comprehensive guide will walk you through everything you need to know about eSIMs—from checking if your device supports it, to setting it up, and making the most out of its features. And if you’re searching for the best eSIM provider, you’ll discover why ConnectPls stands out with its unlimited data eSIM solutions.
Key Takeaways
- Installation and Setup: A detailed guide to installing and setting up eSIM on Android devices.
- Usage Tips: How to use and manage eSIM on Android, including making it your primary SIM.
- Device Compatibility: Steps to check if your Android device supports eSIM.
- Switching to eSIM: A guide on converting your Android phone to eSIM.
- Why Choose ConnectPls: Learn why ConnectPls is the best eSIM provider for Android users.
What is an eSIM and How Does It Work?

Understanding eSIM Technology
Definition and Benefits
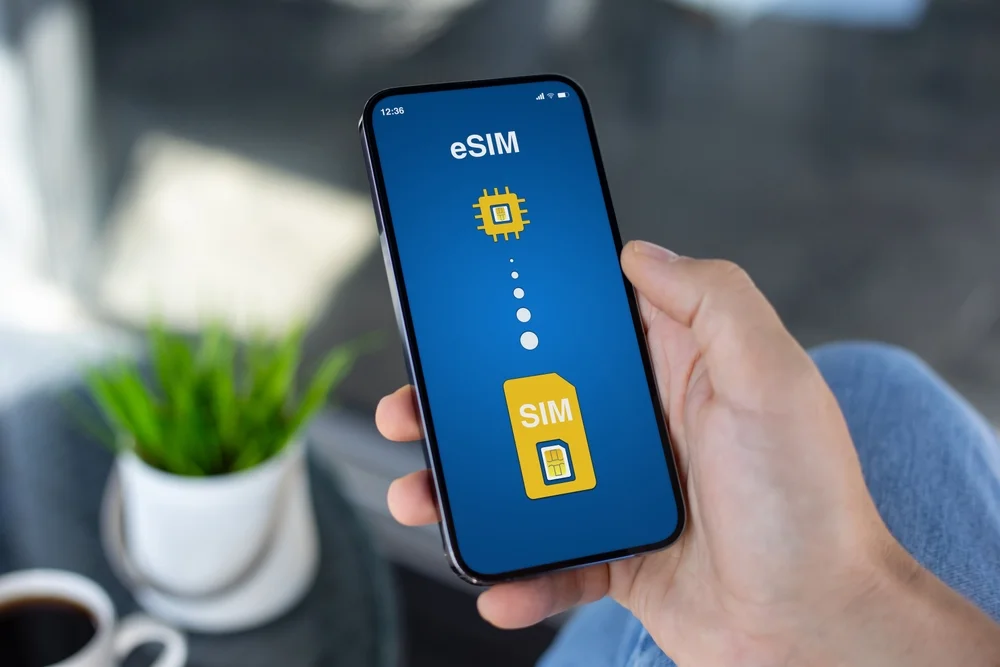
An eSIM, or embedded SIM, is a digital SIM card that is built directly into your device. Unlike traditional physical SIM cards, which you have to insert into your phone, an eSIM is already embedded in the hardware. This technology offers numerous benefits:
- Convenience: No need to swap physical SIM cards when switching carriers or traveling abroad.
- Flexibility: You can store multiple eSIM profiles on your device, making it easy to switch between them.
- Space-saving: Without the need for a SIM tray, device manufacturers have more room to innovate with design.
How eSIM Differs from Physical SIM
While a physical SIM card requires a slot and can be lost or damaged, an eSIM is tamper-proof and occupies no physical space. Additionally, eSIMs allow users to switch between multiple carriers and plans without the hassle of changing SIM cards. This makes eSIMs particularly advantageous for frequent travelers or anyone who manages multiple phone numbers.
How Do I Install and Set Up an eSIM on My Android Device?

Checking Your Android Device for eSIM Compatibility
How to Check for eSIM Support
Before diving into eSIM setup, it’s important to confirm whether your Android device supports eSIM. Here’s how you can check:
- Device Settings: Go to Settings > About Phone > SIM Status. If your phone supports eSIM, you’ll see options like “eSIM” or “Add Mobile Plan.”
- Manufacturer Specifications: Visit the manufacturer’s official website or check the product manual for your device’s specifications.
Some popular Android models that support eSIM include:
- Google Pixel 3 and newer
- Samsung Galaxy S20 series and newer
- Samsung Galaxy Note 20 series
- Motorola Razr
Steps to Install an eSIM
Getting an eSIM Activation Code
To install an eSIM, you first need an activation code from your carrier or eSIM provider, such as ConnectPls. This code is typically provided as a QR code that you scan with your phone, or it may be sent via email with manual entry instructions.
Installing the eSIM
Follow these steps to install an eSIM on your Android device:
- Go to Settings: Open Settings > Network & Internet > Mobile Network.
- Add a Mobile Plan: Select “Add Mobile Plan.” Your phone’s camera will open, allowing you to scan the QR code provided by your carrier or eSIM provider.
- Enter Details Manually: If prompted, you can enter the activation code manually.
- Download and Install: The eSIM profile will download and install automatically. Follow any additional on-screen instructions.
Setting Up Your eSIM for Use
Activating the eSIM Profile
After installing the eSIM, you need to activate it:
- Choose Your eSIM Profile: In the Mobile Network settings, select the eSIM profile you want to activate.
- Enable the eSIM: Toggle the switch to activate the eSIM. Your phone may take a few moments to connect to the network.
Managing Data Plans
With your eSIM active, you can now manage your data plans. If you’re using ConnectPls, you’ll have access to unlimited data plans that can be customized to suit your needs.
How to Use an eSIM on Android

Managing eSIM Profiles
Switching Between eSIMs
If you have multiple eSIM profiles on your Android device, switching between them is simple:
- Open Settings: Go to Settings > Network & Internet > Mobile Network.
- Select eSIM Profile: Choose the eSIM profile you want to use.
- Switch eSIMs: Toggle the switch to activate the desired eSIM profile. Your device will connect to the selected network.
This feature is especially useful for travelers who switch between local eSIMs and their home carrier or for those who manage separate personal and business numbers.
Setting Your eSIM as Primary SIM
Steps to Set Primary SIM
If you want your eSIM to be the primary SIM for data, calls, and messages, follow these steps:
- Go to Settings: Open Settings > Network & Internet > SIM Cards.
- Set Primary SIM: Under “Preferred SIM for,” select your eSIM for calls, SMS, and mobile data.
Making your eSIM the primary SIM ensures you get the most out of your plan, particularly if you’re using an unlimited data eSIM from ConnectPls.
Troubleshooting Common Issues
eSIM Not Detected
If your eSIM isn’t detected:
- Restart Your Device: Sometimes a simple reboot can resolve connectivity issues.
- Check for Software Updates: Ensure your Android OS is up to date by going to Settings > System > Software Update.
- Contact Support: If issues persist, contact your eSIM provider’s customer support for assistance.
Switching Back to a Physical SIM
If you need to switch back to a physical SIM:
- Open Settings: Go to Settings > Network & Internet > SIM Cards.
- Activate Physical SIM: Select your physical SIM and activate it. Your device will automatically disconnect from the eSIM network and connect to the physical SIM.
Does My Android Have eSIM?

How to Verify eSIM Capability on Your Android Device
Checking Manufacturer Specifications
To confirm whether your Android device supports eSIM, start by checking the manufacturer’s specifications. This information is typically found on the manufacturer’s official website or in the product manual.
Alternative Ways to Check
Using Device Settings
You can also check for eSIM support directly on your device:
- Go to Settings: Open Settings > About Phone > SIM Status.
- Look for eSIM Options: If your device supports eSIM, you’ll see options like “eSIM” or “Add Mobile Plan.”
What to Do If Your Android Doesn’t Support eSIM
Consider Upgrading Your Device
If your current Android device doesn’t support eSIM, consider upgrading to a newer model that does. Devices like the Google Pixel 7 or Samsung Galaxy S23 Ultra offer robust eSIM functionality and are widely available.
Using External eSIM Solutions
For devices that don’t support eSIM, external eSIM adapters might be an option, although they come with limitations. For the best experience, upgrading to an eSIM-capable device is recommended.
How Do I Convert My Android Phone to eSIM?

Preparing for Conversion
Backing Up Data
Before converting your Android phone to eSIM, it’s crucial to back up your data. This ensures that you don’t lose any important information during the conversion process. Use Google Drive or another backup solution to secure your contacts, messages, photos, and other essential data.
Converting to eSIM: Step-by-Step Guide
Requesting eSIM from Carrier or ConnectPls
To convert your Android phone to eSIM:
- Contact Your Carrier: Request an eSIM conversion. Some carriers allow you to do this through their app or website.
- Choose ConnectPls for Unlimited Data: If you’re looking for the best eSIM experience, consider switching to ConnectPls, which offers unlimited data plans ideal for frequent travelers.
Post-Conversion Tips
Confirming eSIM Functionality
After converting to eSIM:
- Check Network Connectivity: Ensure your device is connected to the network via eSIM.
- Test Calls and Data: Make a test call and use mobile data to confirm everything is working correctly.
Managing Your eSIM Account
With your new eSIM, managing your account is straightforward:
- Access Your Plan: View and manage your data plan through your device settings or the ConnectPls app.
- Top Up or Switch Plans: Easily top up your data or switch between plans based on your needs.
Why Choose ConnectPls as Your eSIM Provider?

Unlimited Data Plans for Global Travelers
Advantages of Unlimited Data
ConnectPls offers unlimited data eSIM plans, making it the perfect choice for global travelers and digital nomads. With ConnectPls, you never have to worry about running out of data while exploring new destinations. Their plans cover a wide range of countries,
ensuring you stay connected wherever you go.
Easy Setup and Excellent Support
Simplified eSIM Activation
ConnectPls has streamlined the eSIM setup process, making it easy even for first-time users. With simple instructions and responsive customer support, you can get your eSIM up and running in no time.
24/7 Customer Support
ConnectPls provides 24/7 customer support, ensuring that any issues you encounter are resolved quickly. Whether you need help setting up your eSIM or troubleshooting a problem, their dedicated team is always available to assist.
Flexible Plans for All Needs
Variety of Plans
ConnectPls offers a wide range of eSIM plans tailored to different needs, from short-term plans for travelers to long-term plans for digital nomads. With the ability to switch plans or add more data as needed, ConnectPls provides the flexibility to match your lifestyle.
Conclusion
Switching to an eSIM on your Android device offers unparalleled convenience and flexibility, particularly for those who value seamless connectivity on the go. With ConnectPls, you can enjoy the full benefits of eSIM technology, backed by unlimited data plans, global coverage, and exceptional customer support. Whether you’re a frequent traveler or just looking to simplify your mobile experience, ConnectPls has the perfect eSIM solution for you.
Ready to make the switch to eSIM? Explore ConnectPls’s unlimited data eSIM plans and experience the freedom of seamless connectivity, wherever you go.


